Monday, September 2, 2013

4 Months Shot

I did not do any airplane work from early April until Oshkosh.  4 months shot.  I have to say I came pretty close to giving up on the project.  Too many issues the last 4 months to deal with.  But, I have survived and am back on track.

Since Oshkosh I have made some headway with skinning the tail cone.  I ran out of Clecos and ordered 200 more.  When those ran out Dan brought over 150 more.  (Airplane ate all those too.)

All I have left to do prior to riveting is the usual deburing, edge cleaning, dimpling, and corrosion protection.  Should take a good chunk of September.  Then another month to rivet up the assembly.


Working on the tail cone.

Passenger side skin.

Wood frame to strengthen bulkheads when I put motorcycle straps around the skins.

Inside the tail cone.  Looks like a nice place to take a nap.

Securing the skins over the bulkheads.

Looking more "plane" like.

Maybe kind of like a porcupine.

Marking for adjustments.

I'm in deep thought.

Most of the Clecos are in place.

Now it is the end of August.
So I put 120 hours into the plane in the month of August.  She is still not on the gear.  Getting closer.

Brian


Sunday, April 14, 2013

A Saturday at The Riveting Event

So, Dan H. was well and able to come over to rivet on Saturday.  We went to breakfast at Linda's Restaurant around the corner and had many cups of coffee.  Christine took photos and videos of the event.  Below is a short iMovie of the more dramatic rivet setting moments. 

BWW


Friday, April 12, 2013

Electric Bike

OK.  Last weekend did not go as planned.  No rivets driven. No work on plane.  So, I set my mind to another project that has been sitting around the garage for three years.  Completing my electric bike kit.  

Story goes, I bought a 26" electric wheel and battery kit for my bike, but my bike had a 700 C rim and wheel.  The electric wheel sat while I stewed. 

While stewing (until well done I might add!) I started building the dream.  (Mustang II)  I looked high and low for a cheap frame to put the wheel on.  Couldn't find anything worthy of the electric wheel.  So, when all fell apart for my riveting plans last Saturday, I got on the hunt for a bike again.

I looked for used and new.  By-passed quite a few frames.  K-mart, Walmart, Sears, and even the local bike shop did not have what I was looking for and offered no support.  Christine said let's look a Tarjei (Target).  I found a fairly inexpensive frame to "experiment" with.

It is not the best set-up for the electric wheel.  The frame and hardware are kind of wimpy.  Still trying to figure out what to do with all the wiring!  But the ride tonight exceeded my expectations!  The bike doesn't like to go 20 mph, but I liked it.  I have some adjustments to make, but I should be able to ride it to work when it warms some more.  Should be able to ride safely between May and September.  (More light)
36 Volt, Brushless Hub mounted Motor
Three 12 Volt, 12 amp hr, lead acid gel-cells.  For three years old they still work pretty good.  Suspect they will fail sooner than expected.

Here she is ready for tomorrow.  Oh, wait, I will be riveting in the morning.

Later,
Brian


Friday, April 5, 2013

Flap Hinge Riveted to CS

 OK, getting ready for some major riveting this weekend.  I have a lot of clean up to complete prior to Dan H. arriving.  The garage is a mess with the aftermath of a long winter.

Tomorrow promises to be a warm day of 60+ weather and I will take full advantage of it to warm the garage.

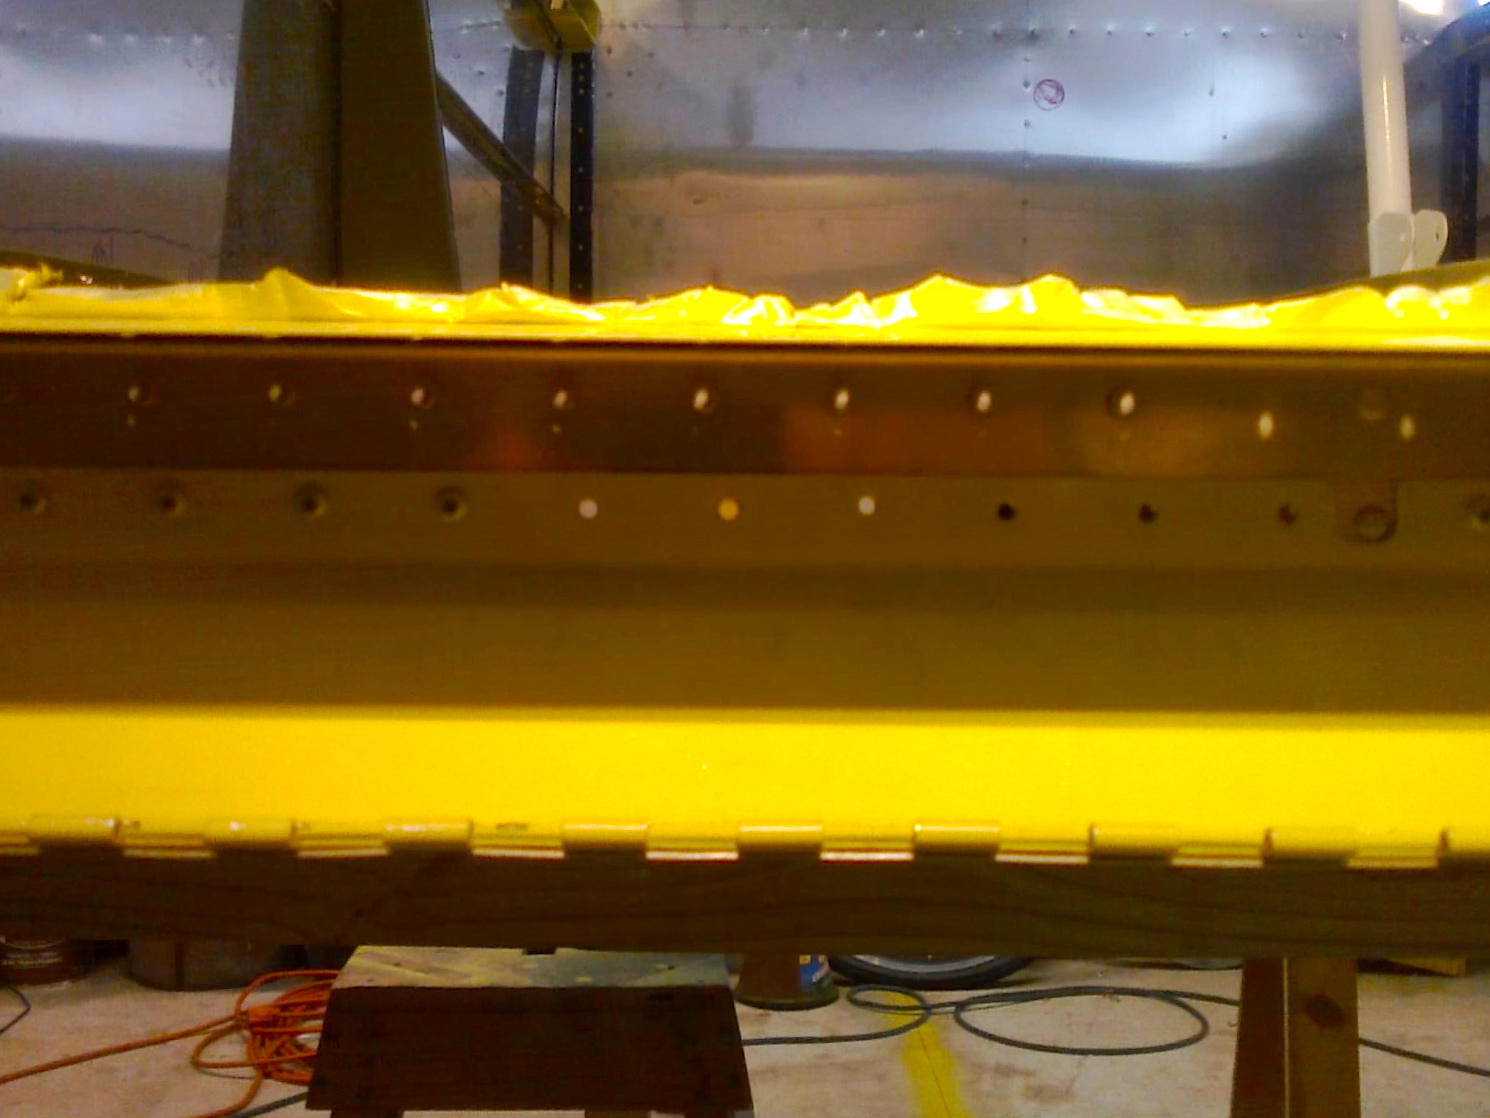
This week, after work, I was able to complete assembly of the flap hinge to the trailing edge of the center section.  I needed to get this area done prior to my push for riveting to occur this weekend.


I used solid AN426AD-3-4.5 to connect the lap hinge to the trailing edge of the center section lower skin.  I used Cherry Max 4-4 pull rivets to connect the flap reinforcement to the CS Spar.

It came out pretty good and structurally sound.


When I completed the hinge installment, I started Clecoing together the tail cone, bulkheads, and foreword fuselage for final riveting.

Here is a shot of the baggage floor Clecoed in place.

I'm not sure how far we will get this weekend.  This will be a big push forward and when this riveting is completed, 75% of the fuselage will be complete.  Will I ever get the plane out of the fixture and onto the gear?

BWW

Sunday, March 31, 2013

Baggage Floor Assembly

Happy Easter!

I continued on with the assembly of the baggage compartment floor this weekend.  I corrosion protected all of the parts and started thinking of the order of operation for assembly.


I've been finding that once a part is drilled and deburred a light reaming operation really rounds out the rivet holes and makes it easier to push a rivet through.  I generally Cleco the parts together and ream the holes with the proper size ream.  (#30 for 1/8 inch rivets & #40 for 3/32 inch rivets.)


Once reamed, I started riveting by using solid rivets (AN470AD-4-4) to connect the left & right baggage support angles.


The Main Squeeze made short work of the 4-4 rivets.


For the left & right baggage floor supports I wanted to try something different.  When I constructed the flap, it had similar triangle parts and they were pretty hard to rivet in place.

So, I decided to use T-88 Structural adhesive and Cherry Max rivets.  The T-88 sets in about 60 minutes with a full cure in about 24 hours.  It is easy to mix.  1 to 1 parts of resin and hardener.

I mixed a little up and spread it evenly over the floor support angle attachment areas.


I very carefully aligned the rivet holes and Clecoed them in place.  Next, I pulled some Cherry Max rivets.

Even though I had spread the adhesive very thin, the excess adhesive oozed out of the edges of the floor supports.  After setting the rivets I wiped off the excess adhesive with an old rag and denatured alcohol.

I've used many kinds of epoxies.  All of them can be cleaned up, prior to curing, with denatured alcohol.


Even the Clecos can be cleaned of wet epoxy.  Denatured alcohol is very safe to use.  Just keep it away from flames or sparks.

I also use the alcohol to wipe off Sharpie Marker lines and prep for painting.

During the week I will rivet the flap hinge and hinge support to the rear of the center section.  I'll use the Main Squeeze, some AN426AD-3-4 flush rivets and about 70 Cherry Max rivets.

By the weekend I should be able to complete the baggage floor area.

BWW

Saturday, March 23, 2013

MII Elevator Bell Crank

I had some problems with my apple computer and had to take it in to a dealer for updates.  While it was out I discovered more stuff to assemble on the Mustang.  Now that it is back here is what I worked on last weekend.

 Just behind the baggage compartment there is an assembly for the elevator bell crank.  The prints show a couple of angles, rudder cable pulleys, and the bell crank.

The assembly rivets to the bottom on station 114.75 bulkhead.  Kind of weak.


In the instruction book there is a drawing of an update for adding a gusset to beef the assembly up a bit.


I was able to find all the parts and start laying them out.  With the gussets providing support I am sure the elevator bell crank will go no where when it is really pushed to it's limits.


Here is one side roughed in and almost ready for deburing.  Now to make another......


Here it is clecoed and clamped to the bench.  Next week I will fit it in place behind the baggage compartment.

Right after I debur, dimple and corrosion protect the baggage compartment parts.

BWW

Sunday, March 3, 2013

1st Weekend Of March

 As I progress on the plane, I find I have made a lot of headway by building some parts very early in the project.  This weekend I spent time going back through and completing some of the parts.

I cut and drilled the tail cone bottom skin stiffeners last summer.  They were tucked away in the overhead waiting to be completed.  So, I located and matched drilled them to the bottom skins.  Next, I deburred, dimpled, and corrosion protected.

I also corrosion protected the bottom seam between the two skins and Clecoed it all up for riveting.  Looks pretty good.


Very early in the construction of the center section (CS), I drilled the holes for rivets to attach the flap hinge and flap hinge reinforcement.

Kind of scary to do at the time.  I had to butcher the reinforcement plate to fit over the landing gear mounting bolts, seatbelt bolts and other stuff that protrudes from the CS rear spar.


Today, I completed the parts by, you know.....deburing, dimpling, and corrosion protection.

I have a lot of parts I have made that just need to be added to the main project as I go along.  Some I have just forgotten about and need to get them in place prior to final riveting.

I ordered some Cheery-Max rivets to rivet the flap reinforcement to the CS rear spar.  I will use some flush (426AD3-??) rivets for the hinge, reinforcement, to CS bottom skin.  The Main Squeeze will work great here.

Once I have the flap hinge reinforcement in place I can work at getting the rear baggage floor in place.  It is nearly ready to go.

I just have to match drill to 1/8th inch rivets in some places and then debur, some dimples, and corrosion protection.

When that is complete I should be really ready to drive some rivets before finishing the tail cone.


I still have a lot of parts all over the garage.  Some boxes are emptied and tossed to make room.  But, the more room I make the more room the plane takes up.

Hopefully, it will warm up enough to open the garage doors and do a spring clean.  I have a lot of chips on the floor that need to be swept up as well as other debris to toss.

Sooner or later the plane (aka Alice II) will end up at a hanger at ENW for final construction.  I just need to keep plugging along to completion.

Later,
Brian