It may not seem like a lot has be happening, but, there is an airplane taking shape in the garage. Over the holidays the kids came home from Alaska and Nebraska for visits. The oldest brought the son-in-law and our grand daughter.
Our younger daughter assisted me with some dimpling of the forward fuselage skins. I have drilled a lot of holes and I am needing to start deburing and dimpling for final assembly of the forward fuselage and tunnel. I would really like to get the plane on the gear this summer.
It was very cold out in the garage in late December and early January. Even the coffee got cold.
I do like my main squeeze I got from Cleveland Tool. It is very easy to setup and use. It smashes rivets in a very constant manner when set correctly.
One of the other things I have been working on is fine tuning. You know.....adjusting here and there.....tweaking.......just making things better as I debur and dimple.
I had to make a few hand made parts along the way. I also made a few shims to adjust for transitions from one frame member to another.
I used some structural epoxy, T-88, to glue them on. The T-88 is easy to use and cleans up with denatured alcohol while it is still wet.
I also got to help out Dan H. with his kit. Dan has helped me set a lot of rivets in the center section.
When I get the plane on the gear I should be able to give Dan my assembly fixture for his center section.
The timing should work out perfectly.
Here is a picture of my forward fuselage all Clecoed up. It has taken the last 8 weeks to disassemble, debur, dimple, reassemble, and disassemble over and over again to finish preparations for riveting. It is ready to be shot.
While I am waiting for Dan, I have started deburing and dimpling operations on the tunnel's belly skins and four of the bulkheads. I need to have these parts riveted together when the forward fuselage is done so as to continue construction of the epinage.
When complete I should be able to slide the tunnel onto the rear of the forward fuselage and align it. Once aligned I will be able to stretch the top tunnel skins over the bulkheads, build the tail feathers, add the landing gear, and voila.....plane is on the gear!
This site will be dedicated to my latest aviation project. I will be investing my time and money into building an all metal aircraft. The Mustang II.
Monday, February 25, 2013
Wednesday, January 23, 2013
1st Post for 2013
I haven't added to the Blog site in a while, but, that doesn't mean I haven't been building. I have plugged along since the house project and I am starting to get back to full steam ahead.
The lastest part of the project has been concentrating on finishing the forward fuselage so I can have the Clecos for the tail cone. This means a lot of detail work. Ie. deburing, edge cleaning, dimpling..........the usual stuff.....(YUCK)
It also means there are a few gussets and brackets I need to make. So, after work today I got to it and made two upper roll bar gussets. The lowers came with the kit.
The round, old style, roll bar was closer to the instrument panel and had smaller gussets. The T-18 roll bar sets further aft and has a lower gusset that goes from the upper angle down about 8 inches. It is attached to station 73.5 and the skin.
Picture of lower gussets made very early in the project.I took a couple of screen shots from the Dyon web site for the instrument panel. I am leaning towards MGL for a simple VFR panel. Either way I will be going with glass.
The market for instrumentation is changing so dramatically and fast I will wait to the last minute for the panel.

Later,
BWW
Wednesday, September 5, 2012
Roofing Project
Not much going on for the next couple of weeks. Starting a roof & window replacement project on the house just in time for winter. Trying to get the old place semi-maintenance free.
On the Mustang II my next steps are to remove the forward fuselage side skins and structure to debur, dimple, and start riveting together. When I get to that point I'll get some pictures and stuff together.
Brian
On the Mustang II my next steps are to remove the forward fuselage side skins and structure to debur, dimple, and start riveting together. When I get to that point I'll get some pictures and stuff together.
Brian
Sunday, August 26, 2012
Bulkhead Alignment.
Spent today "adjusting" the bulkheads for the top skin installation. Instructions talked about stretching a fine wire across the top of the bulkheads from station 114.75 to the vertical stabilizer along the CL. While at the Mustang Open House someone mentioned needing piano wire for this. Well, I found some very fine varnished coated wire the kids and I used to make crystal radios in the 90s. It worked great! So, very fine wire, when you get to this point, will work.
It was hard to get a clear picture of the fine wire. Each time I adjusted a bulkhead I forgot the wire was there and hit it. It was easy to tighten and readjust.I found the factory made slots in the bulkheads for the skin stiffeners was to tight and adjusted each one. When I completed, I inventoried how much of the stiffener material I had left. I have enough for all of the plan's recommended installation. Some kit builders recommend more for the tail cone skins.
The skin stiffeners, 240.371-?, look like a J. Drilling rivet holes can be a challenge due to the shape. Holes are located on 2" centers. I marked the remainder of the stiffening material and drilled the holes for AN426AD-3 rivets.
Looking forward to getting the top skins down and slapping them on the tail cone. I still have a lot of questions as to the installation of the bulkheads. Getting there slowly but surely!
BWW
Saturday, August 25, 2012
Tail Cone Work Surface
So, to construct the tail cone the instructions said to mount the vertical stabilizer to a 2x4 and mount the 2x4 from the ceiling to the floor. (Kind of like that.) Well, I didn't want the garage door blocked for months while I constructed the tail cone so, I approached the problem a little differently.
The goal is to support the vertical stabilizer in the vertical position, on the CL with bulkhead 209.5 on the HRL.
My first run at the problem I clamped the last three bulkheads to the construction table and started after the problem. It seemed to hold everything OK.
Another shot of the "monstrosity" clamped in place. Kind of an inverted triangle. Everything seemed to hold OK and lined up nice with the CL & HRL. Until I placed the bottom skins and rear doubler into the fray.
That is when everything went awry. It seemed placing the doubler on the inside threw dimensions off enough to make the bulkheads not fit correctly on the inside of the skins. Once I removed the doubler, everything fit up nice.
With the rear doubler removed, all the bulkheads fit up nice along the HRL. I anchored the rear work surface to the concrete floor and called it a night.
Kind of looking like a real airplane. Tail cone formers clamped in place almost ready to drill holes for Clecos. I need to measure again before drilling.
I should be able to bring the tail cone top skins down from the upstairs soon. I just don't know if I have enough Clecos to hold the whole plane together. I may have to backtrack and rivet the forward fuselage to get some Clecos.
We'll see what tomorrow brings.
BWW
Monday, August 20, 2012
2012 Mustang Aero Open House
On August 18th I was able to make the pilgrimage to my first Mustang Aeronautics Open House in Troy, Michigan. It was fun and I gained a lot of "tribal" knowledge in the construction of my Mustang II.
Mustang Aero moved into a larger facility recently.
Chris Tieman and crew threw out a spread of stuff to look at and touch for novices as well as experienced builders.
An example of some of the parts Chris had out was a center section "quick" build kit. Chris also had several starter flap kits ready for expectant builders.
A short ride over to Troy Airport and we found several examples of completed aircrafts.
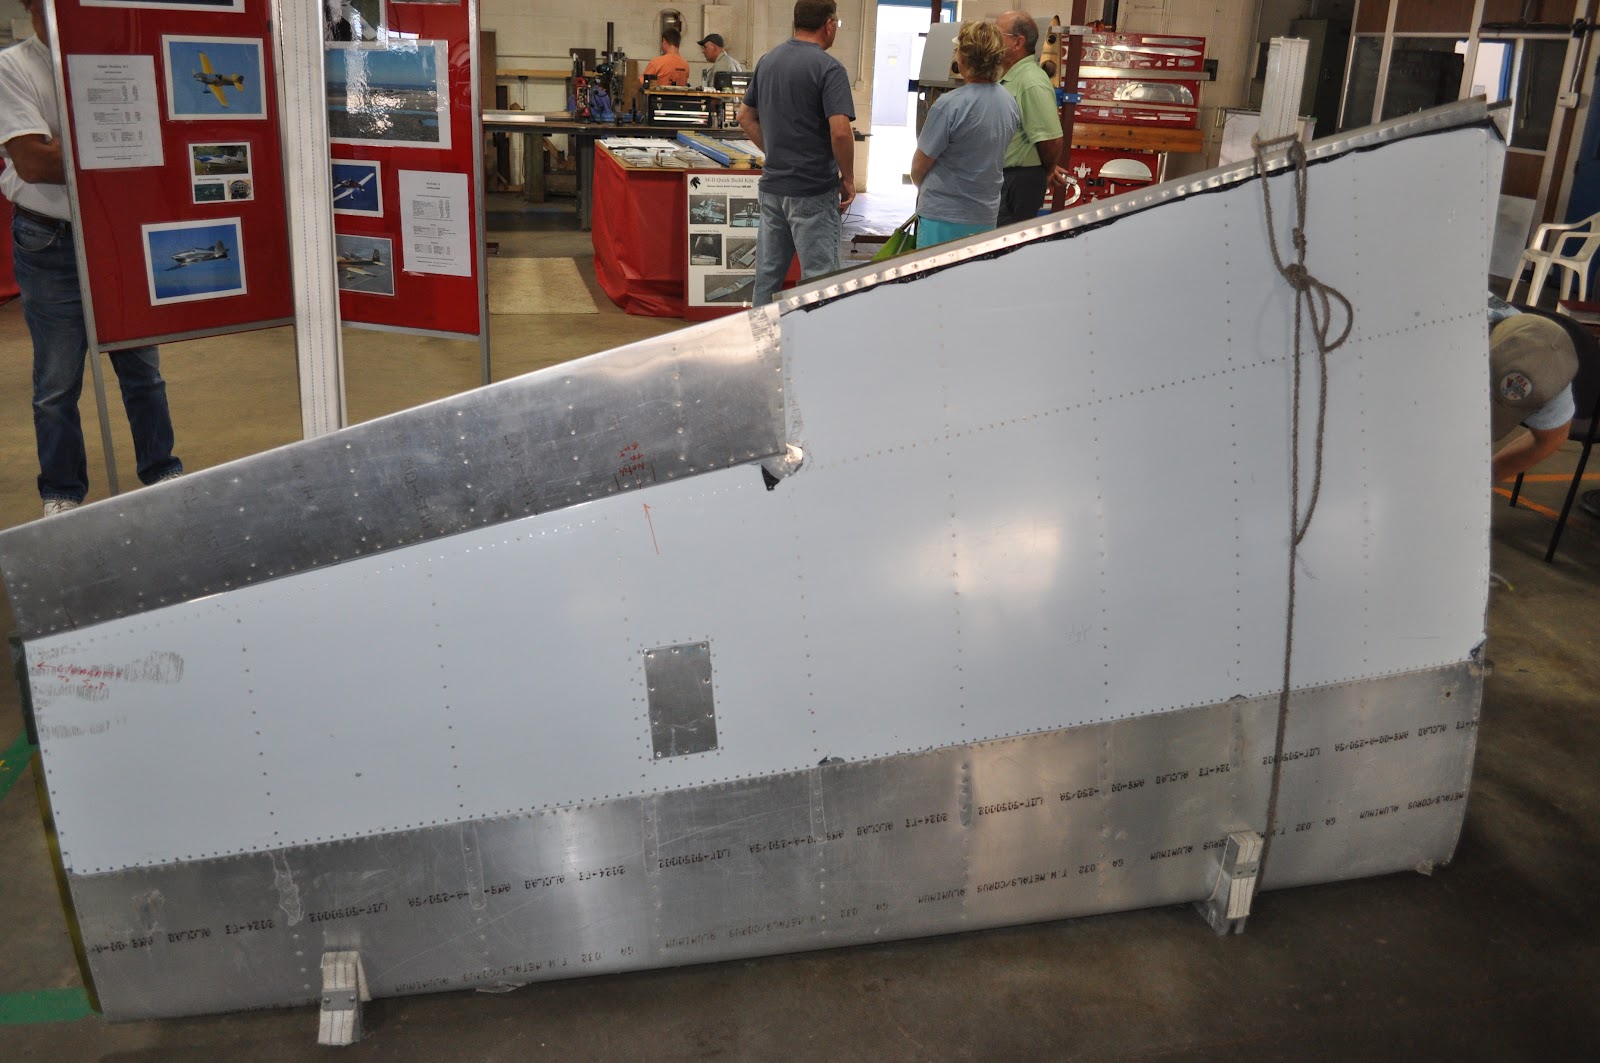
The aircrafts, all similar, had a varying degree of options installed by their owner/builders. From avionics to canopy installations. Being able to view and photograph the many examples helps a builder, like me, to plan how to tackle future items that need to be built.
(Infamous Larry Kinder plane above.)
Not sure whose plane. I did like the deeper yellow color.
I thought this one was interesting. Instead of a sliding canopy, it swung up and back for cockpit access.
A shot of Wayne Norris' plane. One of the many excellent examples of flying Mustang IIs available to view and ask questions of the owner/builder.
All the owners provided very detailed information and encouragement to keep building your project.
Wayne departing late Saturday afternoon.
All in all I had a great visit to the factory and met a lot of nice people. My main purpose for going was to pick up my completed wet wings. They are now safely in my garage.
So, with the excitement of Oshkosh and the MII Open House over for 2012, all I have left to do is keep building. My hope is someday I will fly into Troy Airport for the Open House in a completed Mustang II to share with other builders.
BWW
Saturday, August 11, 2012
The instructions say to build the tail cone on the airframe and on a table/work surface. I had some left over plywood from the MII kit and built a work surface today.
My big question was what is the angle from station 114.75 to 209.5? How many degrees? As near as I could tell from the plans it is approximately 4 degrees. So, I picked this as a starting point.
The work surface is about 4 degrees. It may be a little steep.
I braced it for my weight when I get inside for riveting at a later date. It will be anchored to the floor with some Hilti concrete bolts on the center line when all is good.
Test clamped the 209.5 and 205 bulkheads to the work surface. Tomorrow I will setup the spinning laser and see if the HRL lines up. Could be an interesting day.
I made a doubler for the tail end to support the landing gear and a heavy landing. I only hope the work surface lines up OK with the HRL.
Later,
Brian W.
My big question was what is the angle from station 114.75 to 209.5? How many degrees? As near as I could tell from the plans it is approximately 4 degrees. So, I picked this as a starting point.
The work surface is about 4 degrees. It may be a little steep.
I braced it for my weight when I get inside for riveting at a later date. It will be anchored to the floor with some Hilti concrete bolts on the center line when all is good.
Test clamped the 209.5 and 205 bulkheads to the work surface. Tomorrow I will setup the spinning laser and see if the HRL lines up. Could be an interesting day.
I made a doubler for the tail end to support the landing gear and a heavy landing. I only hope the work surface lines up OK with the HRL.
Later,
Brian W.
Subscribe to:
Posts (Atom)